Run into fantastic background music on DVD
Movies YouTube, MySpace, MSN video, and wanna enjoy the background
music on your Sony Walkman? Wanna enjoy DVD movie on Sony Walkman but
don’t know how to rip
DVD to Walkman? This article will show you how to
convert video to Sony Walkman, how to rip DVD to Sony Walkman (NWZ-S618F, 8GB/ NWZ-A818, 8GB/ NWZ-S616F, 4GB/ NWZ-S738F, 8GB) for your watching.
The leading role of this article is Daniusoft Video Converter Suite which is an applied
Sony walkman video converter,
it is already optimized for output setting for Sony Walkman video
(*MPEG-4)/Audio(*MP3) in its profile. Very easy to use, like the follow
illustration:

Okay, without further ado, let’s cut to the point to get things work.
First of all, Download
Daniusoft Video Converter Suite, after installing it, you will get 2 apps: DVD Ripper and Video Converter.
Next, run
Daniusoft DVD Ripper
software to convert DVD to Walkman-friendly format: MPEG-4. The nifty
walkman DVD converter has all essential functions such output profiles,
parameter settings and video editing. The detailed conversion process
is showed as below:

1.
Click 'Load DVD' button to add the DVD file. You can also click 'Load
File' to add DVD/IFO from your hard disk. (Ensure that you have
sufficient space on hard drive to store the DVD).
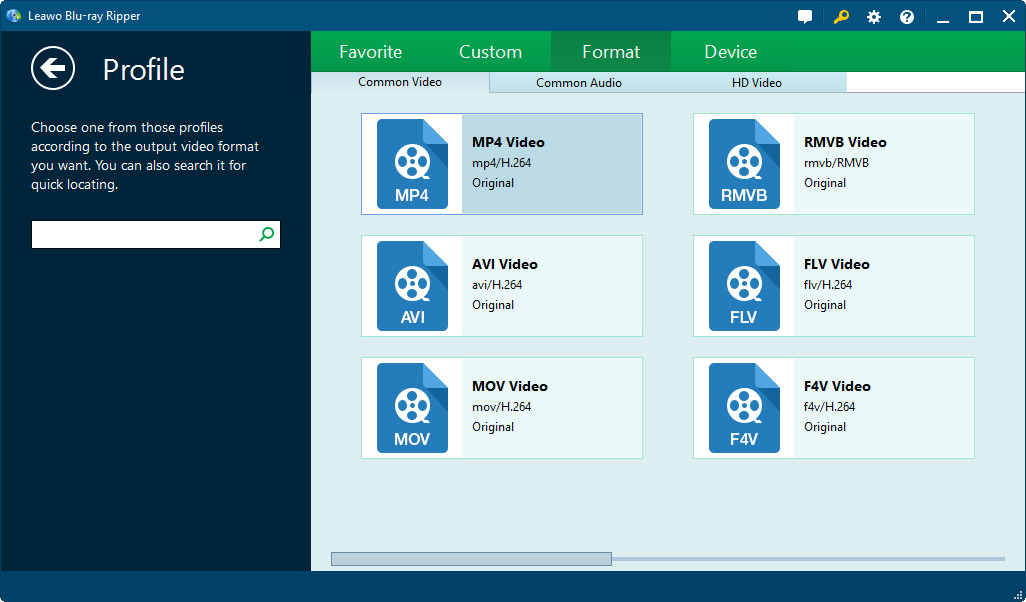
2. Select profile "Sony Walkman -> Walkman Video (*.MP4)".
P.S.
If you wanna extract background music from DVDs and convert to Sony
walkman, Just Select profile "Convert to -> Common audio ->
MP3-MPEG Layer-3 audio(*.MP3)".
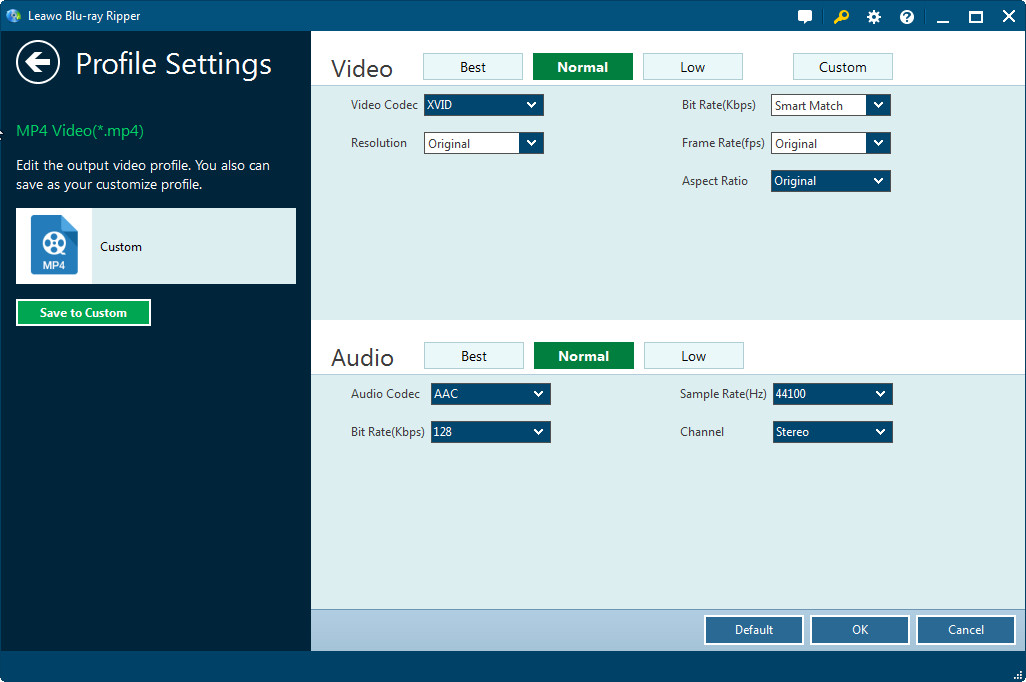
3. Click "Settings" to customize the parameters like Bit Rate, Video Size and Aspect Ratio.
4. Click "Edit" to adjust effect, length, size and watermark, etc.
5. Click "Start" to convert DVD to Sony Walkman.
Using Daniusoft
Video file Converter to extract background songs from YouTube, MySpace, MSN video to Sony Walkman is as easy as Daniusoft DVD Ripper.

1. Run Daniusoft walkman Video Converter and load your video downloaded from YouTube, MySpace, MSN, etc.
2. Select profile "Convert to -> Common Audio -> MP3-MPEG Layer-3 audio (*.MP3)".
P.S.
If you wanna convert your favorite web-video files from YouTube,
MySpace, Facebook, MSN etc. to Sony walkman, Just Select profile "Sony
Walkman -> Walkman Video (*.MP4)".
3.Click "Settings" to customize the parameters like Bit Rate, Video Size and Aspect Ratio.
4. Click "Edit" to adjust effect, length, size and watermark, etc.
5. Click "Start" to convert video to Sony Walkman.
Now,
you can connect Sony walkman to computer and copy these converted DVD
video or background music to your Sony walkman
(NWZ-S618F/NWZ-A818/NWZ-S616F/NWZ-S738F) player. Using the Daniusoft
walkman video converter well can cover the boring journey on a bus or a plain with myriad happiness and fun.

 For more details, check: Rip DVD to Computer


×